
I recently had the chance to try out the Yealink Wall Mount Bracket for my T46U model. It caught my attention for its lightweight design and promise of saving desk space. While I appreciated its sturdy build and straightforward installation, I encountered a few hiccups along the way. If you’re considering this bracket, you might want to know about the installation challenges and overall practicality before making a decision.
Overview of the Yealink Wall Mount Bracket
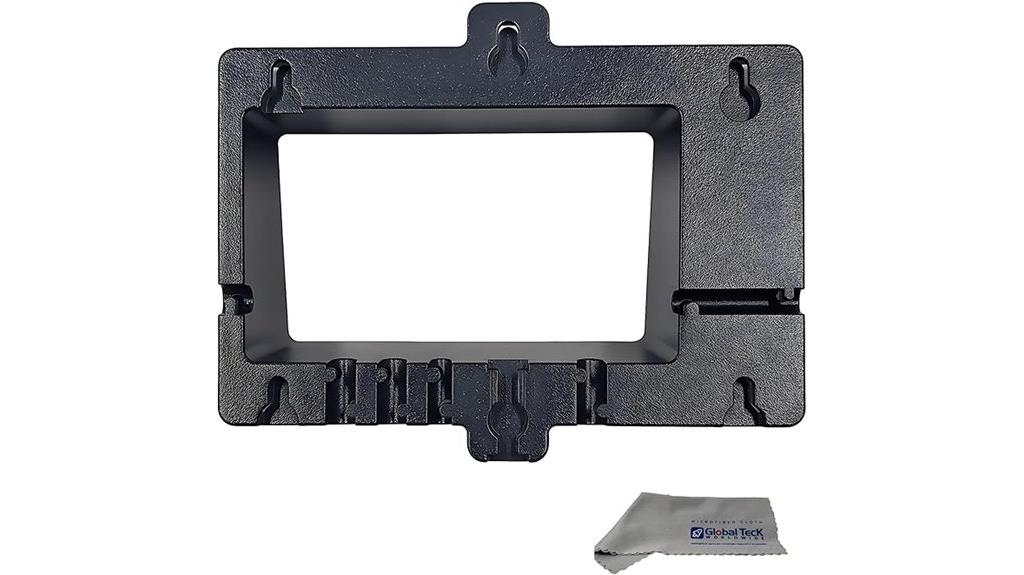
The Yealink Wall Mount Bracket is a practical solution for optimizing your workspace.
When I first tried it, I immediately noticed how much desk space I saved by mounting my VoIP phone on the wall. It’s lightweight at just 5 ounces, making installation a breeze.
I found its dimensions of 6 x 6 x 3 inches perfect for my setup. Plus, it complements Yealink’s T46U, T46S, and T46G models seamlessly.
I appreciate how it keeps my workspace tidy and organized, allowing me to focus on my tasks without the clutter of a phone taking up valuable desk real estate.

Compatibility and Features
When considering a wall mount for your VoIP phone, you’ll appreciate that the Yealink Wall Mount Bracket is specifically designed for the T46U, T46S, and T46G models.
This bracket not only guarantees a secure fit but also enhances your workspace. Here are some standout features:
- Universal compatibility with select Yealink models
- Includes a premium microfiber cloth for easy cleaning
- Space-saving design that frees up valuable desk area
- Durable construction for reliable support
- Simple, sleek aesthetics that blend with any environment
With these features, it’s a smart choice for anyone looking to optimize their office setup.
Installation Process
Installing the Yealink Wall Mount Bracket is a straightforward process that can transform your workspace in just a few minutes. First, gather your tools and decide where you want to mount it. You’ll need screws, which aren’t included, so choose the right ones for your wall type. Here’s a quick reference table to help you:
| Step | Description |
|---|---|
| 1. Gather Tools | Collect screws, drill, and level |
| 2. Mark Position | Use the bracket to mark screw holes |
| 3. Drill Holes | Drill according to your marks |
| 4. Attach Bracket | Securely fasten the bracket |
| 5. Mount Phone | Hang your Yealink phone on the bracket |
Customer Feedback and Reviews
Many users have shared their thoughts on the Yealink Wall Mount Bracket, and the feedback is quite telling.
Here are some highlights that I found particularly interesting:
- Users love the space-saving design.
- Many appreciate the easy installation process, despite the lack of a template.
- Positive comments highlight its compatibility with multiple models.
- A few experienced shipping delays, which can be frustrating.
- Some users faced challenges with wall jack compatibility.
Warranty and Support Information
While user feedback highlights the benefits of the Yealink Wall Mount Bracket, it’s also important to reflect on the warranty and support options available.
Yealink offers a product warranty, but I recommend checking their website for specific details. If you encounter any issues, their customer service is ready to assist, encouraging users to share experiences regarding pricing and shipping.
This approach helps them improve their services. Though some users reported shipping delays, the support team is generally responsive.